Here are some notes on koji and amazake:
麹や甘酒に関して少し述べます。
Notes on koji:
1. In Japan, koji is available in two types, fresh and dried. The former has a higher potency (is more capable of turning starch into sugar) than the latter, but requires refrigeration (< 10 degrees C), and can be stored in the fridge for up to 3 weeks and in the freezer for up to 3 months. The latter does not require refrigeration, and can be stored at room temperature.
Both types can be used to make amazake. Some recipes say to soak dried koji in hot water to soften or use more water than with fresh koji.
2. It's not the kojikin (Aspergillus oryzae) but the enzymes produced by it that make amazake. At and above 50 degrees C, kojikin cannot survive.
麹に関して:
1. 日本では、麹には、生麹(なまこうじ)と乾燥麹(かんそうこうじ)の二種類があります。前者のほうが力価(りきか。つまり、でんぷんを糖類に変える力)が後者より高いですが、冷蔵(摂氏10度以下)が必要です。冷蔵庫では3週間、冷凍庫では3ヶ月保存できます。後者は冷蔵不要で、室温で保存できます。
どちらも甘酒作りに使えますが、乾燥麹はお湯に漬けて柔らかくする、または生麹の場合よりお湯を多く使うよう指示するレシピもあります。
2. 甘酒を作るのは麹菌ではなく、麹菌が作る酵素です。摂氏50度以上では、麹菌は生きていけません。
Notes on amazake:
1. To make amazake, you must keep the koji and water (and cooked rice) mixture in the temperature range of 55-60 degrees C for 2 to 12 hours, depending on the koji, cooked rice, and water ratio, the method to use to keep the temperature, and other factors.
One recipe says to keep 400 g of fresh koji and 1 liter of water (and no cooked rice) at 60 degrees C for only two hours.
2. Avoid heating the mixture to 65 degrees C or higher because this deactivates the enzymes. Once deactivated, the enzymes will never be activated again when the mixture is lowered in temperature.
3. Once you have made amazake, you have two options: simply keeping it in the fridge and using it up in, say, 7-10 days; and reheating it above 65 degrees C to deactivate the enzymes.
Considering the fact that amazake contains more than 100 types of enzyme, including amylase and protease, I would suggest not reheating amazake.
4. Amazake contains glucose, vitamins B1, B2, and B6, and essential amino acids, among others.
5. According to one source, limit the daily consumption of amazake to 200 ml.
6. Finally, amazake made from sake kasu (lees) is also healthy, and contains less carbohydrate and more vitamins and protein than amazake made from koji, according to one site.
甘酒に関して:
1. 甘酒を作るには、麹とお湯(とご飯)を混ぜたものを2~10時間程度(麹、ご飯、お湯の割合や温度を保つための方法などにより異なる)摂氏55~60度の温度範囲に保つ必要があります。
例えば、生麹を400 g、お湯を1リットル(ご飯なし)を摂氏60度に、わずか2時間保つだけ、というレシピもあります。
2. 摂氏65度以上に加熱するのは止めて下さい。でないと、酵素が死活します。一旦死活すると、温度が下がっても活性化することはありません。
3. 甘酒ができたら、そのまま冷蔵庫に保存し、7~10日程度で飲み切るか、摂氏65度以上に加熱して、酵素を死活させて下さい。
甘酒には酵素(アミラーゼやプロテアーゼなど)が100種類以上も入っていることを考えると、私としては、加熱することはお薦めしません。
4. 甘酒には、ブドウ糖、ビタミンB1、B2、B6、必須アミノ酸などが含まれます。
5. 或るサイトでは、甘酒の一日の摂取量は200 mlに抑えたほうがいいそうです。
6. 最後に、酒粕で作る甘酒も健康に良く、或るサイトによれば、麹で作る甘酒より炭水化物は少なく、ビタミンやタンパク質は多いそうです。
December 12, 2015
December 10, 2015
Making Amazake/甘酒作り
Two days ago, my son said something incredible. He said he wanted to have amazake. A few months ago, when I went to the Echigo-Tsumari Art Field, I bought several souvenirs for my family and relatives, which included a bottle of amazake for my wife. The bottle was sitting in the fridge for months, and finally, my son had it all by himself. Now, he wants to have more amazake. I first thought about simply getting some store-bought amazake, but changed my mind to make it myself.
To clarify, there are two types of amazake, one made from koji (expensive but tasty, contains no alcohol) and the other made from sake kasu (lees) (less expensive but less tasty (some people may argue about this), contains a small amount of alcohol). By amazake, I mean the former type.
二日前(ふつかまえ)、息子が信じられないことを言いました。甘酒が飲みたいそうです。数か月前、越後妻有アートフィールドに行った際、家族や親せきにお土産を買ったのですが、その中に、妻への甘酒が一本ありました。それが数か月も冷蔵庫に入れっぱなしで、とうとう息子が一人で飲んでしまいました。それで、甘酒をもっと欲しいというわけです。最初はただ市販の甘酒を買おうと思ったのですが、考えを変えて、自分で作ることにしました。
誤解のないように言っておくと、甘酒には二種類あります。麹(こうじ)から作るタイプ(高価だが美味しい。アルコール分なし)と、酒かすから作るタイプ(安いが、あまり美味しくない(反論する人もいるでしょうが)。アルコール分が少しあり)。私が言うのは前者のほうです。
Unlike the previous attempt, in which I used koji and water, but no cooked rice, I decided to use a recipe that calls for a cooked rice, koji, and water ratio of 1:1:3.
Thus, I used about 400 g of leftover rice (frozen).
ご飯を使わず、麹と水だけを使った以前の方法とは異なり、ご飯、麹、水の割合が1:1:3のレシピを使うことにしました。
というわけで、残りご飯(冷凍)を約400 g使いました。

以前使ったのと同じ麹を購入しました。

手作りの麹が400 g入っています。

まず、冷凍ご飯を電子レンジで解凍し、鍋に入れ、次に、水を400 g x 3 = 1,200 g入れました。

もっと大きな鍋を使うべきでした!ご飯をおかゆのようにしようと、数分加熱しました。麹を入れる前に、ご飯を大半、魔法瓶に入れなければなりませんでした...。

もちろん、魔法瓶の内部はきれいにして、前もってお湯で温めておきました。
After making sure that the rice in the pot had cooled below 60 degrees C, I added the koji.
Be sure to crumble the block of koji into individual grains before adding.
ご飯が摂氏60度以下に下がったのを確認してから、麹を入れました。
麹は、入れる前に崩して、一粒づつにするのをお忘れなく。

常にかき混ぜつつ、鍋の中身が摂氏60度になるまで温めました。それから、中身を魔法瓶に移しました。魔法瓶の中身の温度を測ると、摂氏59度でした。電子レンジで摂氏65度に温めたお湯を少し魔法瓶に入れました。
At around 6:30 the next morning, about ten hours later, I checked the temperature of the contents of the thermos, and it was 50 degrees C. I transferred them to a pot,
翌朝、6:30頃、約10時間後、魔法瓶の中身の温度を測ると、50度Cでした。中身を鍋に移し、

reheated them to 60 degrees C, and
60度Cまで加熱し、

and put them back to the thermos.
魔法瓶に戻しました。

11:00頃、14時間以上過ぎてから、温度をまた測ると、59度Cでした。中身をプラスチック容器と鍋に移しました。

成功して良かったです。
***
I really regretted having made amazake in such a haphazard way this time. If I make another attempt, I will use a recipe like this:
1. Take out a bag of koji from the fridge and let sit on the kitchen counter until it reaches the room temperature.
2. In a pot, put 400 g cooked rice and 1,200 g water. Bring to a boil, simmer until the rice turns soft.
3. Leave the pot until the temperature of the contents goes down to 65 degrees C.
4. Put some boiling water to the thermos to preheat, and drain.
5. Put the koji in the thermos.
6. Add the contents of the pot.
7. Check the temperature. It should be around 60 degrees C.
8. Leave for 10-12 hours.
今回は、こんないい加減な方法で甘酒を作って、本当に後悔しています。今度作るとしたら、次のようなレシピを使おうと思います。
1. 麹を冷蔵庫から出し、室温になるまで台所に置いておく。
2. 鍋にご飯を400 gと水を1,200 g入れ、沸騰させ、柔らかくなるまで煮る。
3. 中身が65度Cになるまで鍋を放置しておく。
4. 魔法瓶に沸騰水を入れ、温め、お湯を捨てる。
5. 魔法瓶に麹を入れる。
6. 鍋の中身を入れる。
7. 温度をチェックする。60度C程度になるはず。
8. 10~12時間放置する。
November 28, 2015
Okonomiyaki Rich in Grated Jinenjo/自然薯たっぷりのお好み焼き
I searched for a good recipe for jinenjo (wild yam) on the Internet, but in vain. So, I thought I'd just make okonomiyaki with lots of grated jinenjo in it.
ネットで自然薯を使ったいいレシピを探したのですが、無駄でした。そこで、すった自然薯をいっぱい入れたお好み焼きを作ろうと思いました。
I finely chopped a 1/4 head of cabbage, put it an I-Wrap bag, and microwaved for a few minutes. I usually don't pre-heat cabbage to make okonomiyaki; this is for my wife, who is currently unable to chew properly due to an illness. In a mixing bowl, I put the cabbage, added a bag of dried shrimp, and two large eggs, and mixed well.
キャベツ1/4をみじん切りにして、アイラップに入れ、電子レンジで数分加熱しました。お好み焼きを作るのに普通はキャベツを予め加熱することはしませんが、病気のためちゃんと咀嚼(そしゃく)できない妻のためにしたことです。ボールにキャベツを入れ、干しエビとLサイズの卵2個を入れ、良く混ぜました。

そして、小麦粉を少し入れました。

一回目:


生地はとても柔らかかったので、ひっくり返すのに、この技を使いました:大きな皿にスライドさせ乗せ、素早く逆さまに戻す。この通り!

二回目と三回目は、小麦粉をもう少し足しました。

二回目:

3回目(小さなフライパンで):

美味しそうに見えないかも知れませんが、美味しかったです。

いつも通り、紅生姜、青のり、鰹節、中濃ソース、ケチャップを一杯載せました。

マヨネーズも一般的なトッピングですが、私自身はお好み焼きの載せるのは好きではないです。
November 27, 2015
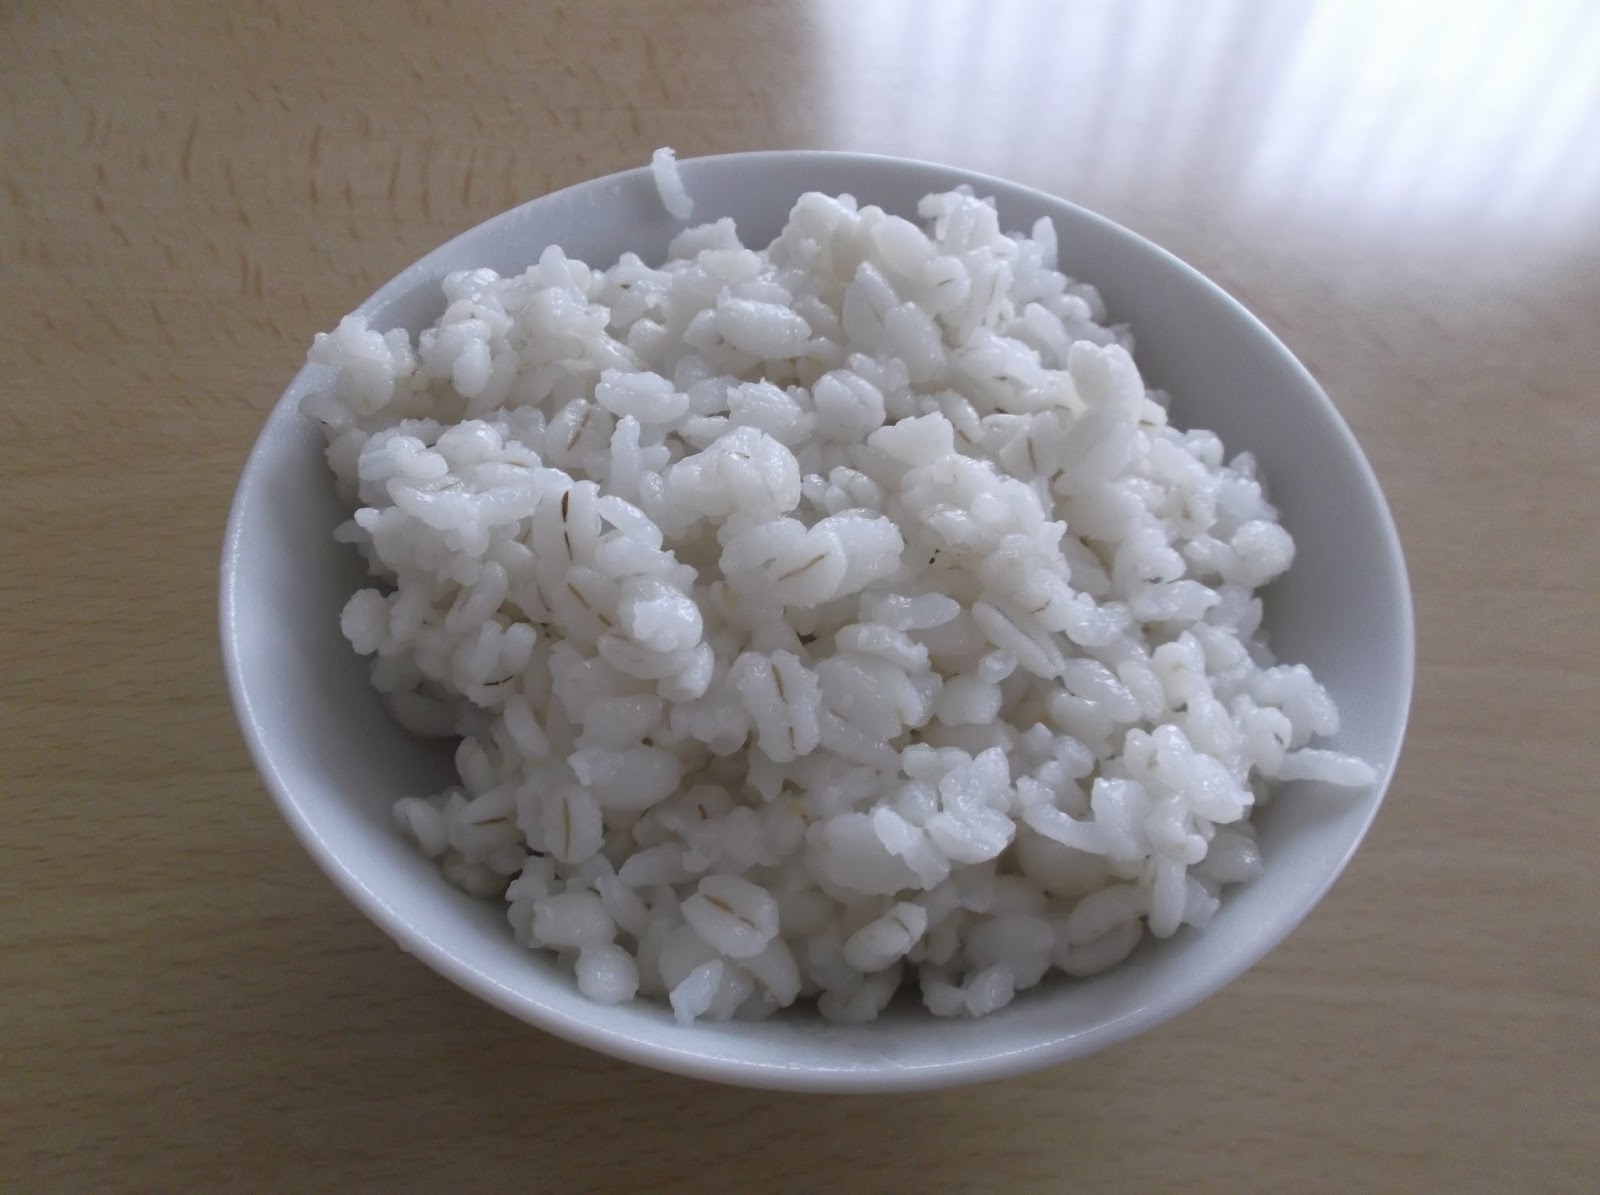
Mugi Meshi (Barley Rice), Again/再び麦飯
My son wanted to have more barley in his mugi meshi. (He even suggested cooking barley only, with no rice.) So, today, I made mugi meshi at a rice to barley ratio of 1 to 2.
息子が麦飯にもっと麦を多くして欲しいと言うので(お米を入れず、麦だけを炊いたら、とも言いました)、今日は、お米の麦の割合を1:2にして麦飯を作りました。

息子もこの割合は美味しくないと言ってました。
A rice to barley ratio of 2:1 is quite common in Japan, as I mentioned previously. In jails in Japan, mugi meshi cooked at a ratio of 7:3 is a staple. You can see some nice scenes of eating in a jail in the movie, Doing Time (Japanese only).
前にも書いたように、日本ではお米と麦の割合は2:1が一般的です。日本の刑務所では、7:3で炊いた麦飯が主食です。刑務所の中という映画で、日本の刑務所での飲食シーンが見られます。
November 18, 2015
Making Mugi Meshi (Barley Rice)/麦飯を作る
To make mugi meshi, you will need oshi mugi (rolled barley).
麦飯を作るには、押し麦が必要です。

大麦は、食物繊維が豊富です。この製品では、白米の15倍の食物繊維が入っています。

You have to decide the rice to barely ratio. A 7 to 3 ratio is quite common in Japan. As requested by my son, however, I decided to try a 1:1 ratio.
米と麦の割合を決める必要があります。7:3という割合が日本ではかなり一般的ですが、息子のリクエストに応じて、1:1という割合を試しました。
1. Wash 2 go of rice. Add enough water for 2 go of rice.
1. 米を2合研ぐ。2合のお米分の水を入れる。

2. 押し麦を2合足します。押し麦は洗う必要はありません。水を押し麦の量の2倍入れます。

Note that 1 go is equivalent to 180 ml.
足す水の量は、(2 x 180 ml)の2倍、つまり720 ml。
1合は180 mlです。
3. Leave at least 30 minutes and turn on the rice cooker. For an IH rice cooker, you can turn it on immediately.
3. 最低30分置いてから、炊飯器のスイッチを入れます。IH炊飯器なら、すぐに入れてもOKです。
4. Done!
4. 完成!

November 17, 2015
"Recycle Shop" (Secondhand Store/Shop)/リサイクルショップ
日本では、「リサイクルショップ」とは、secondhand store/shopのことですが、リサイクルショップは、 外国のcharity shop、thrift shop、thrift storeなどと異なり、商業施設です。つまり、リサイクルショップに物を持って行き、売り、リサイクルショップはそれを売って儲けます。また、通常、リサイクルショップでは、新品もとても手頃な値段で売っています。
I, for one, like to visit a recycle shop very much, even when I don't have anything I want to buy. Yesterday, I bought two ladles at the recycle shop I frequent. I fell in love with the bottom one in the photo below at first sight.
私はリサイクルショップに行くのがとても好きで、特に買う物がなくても行ってます。昨日は、よく行くリサイクルショップで、お玉を2つ買いました。写真の下のお玉には一目ぼれしました。

Bottom one: 480 yen
上のお玉: 180円
下のお玉: 480円
I googled to find that the bottom one costs over 1,200 yen at regular stores.
ググると、下のお玉は普通の店なら、1,200円以上です。

最近買った物の一部:

Bottom, left to right: Timer, non-contact thermometer for liquids only, peeler.
The timer and the thermometer were 200 and 980 yen, respectively, and are more than 1,400 and 3,000 yen, respectively, at regular stores.
上: 漏斗(50円)
下(左から右): タイマー、液体専用の非接触温度計、ピーラー。
タイマーと温度計は、それぞれ、200円、980円。通常の店なら、それぞれ1,400円、3,000円以上です。
Note that all the items shown above are new ones, not used ones. Now you know why I like a recycle shop!
上記の品は、中古ではなく、新品です。なぜ私がリサイクルショップが好きなのか分かったろうと思います。
November 16, 2015
Jinenjo (Wild Yam)/自然薯(じねんじょ)
The other day, I got a phone call from my father, who lives in Chiba, and he said he would sent some jinenjo (wild yam, Dioscorea japonica) to us. He added that he could get jinenjo in one of his fields. When I saw it, I was a little surprised because it was very thick.
先日、千葉に住む父から電話が、自然薯を送ってくれるとのことでした。畑で自然薯が採れたそうです。実際に見た時は、とても太いのでちょっと驚きました。

私は、栽培の山芋の皮は剥かないのですが、この自然薯は汚いので皮を剥く必要がありました。

息子が、すりたいと言うので、来るのを待っていました。

残念なことに、スーパーにマグロのぶつ切り(ぶつ)が無かったので、このメバチまぐろを1パック買いました。

麦飯も作りました。

まぐろは二通り(ふたとおり)に切りました。

平目の刺身も、
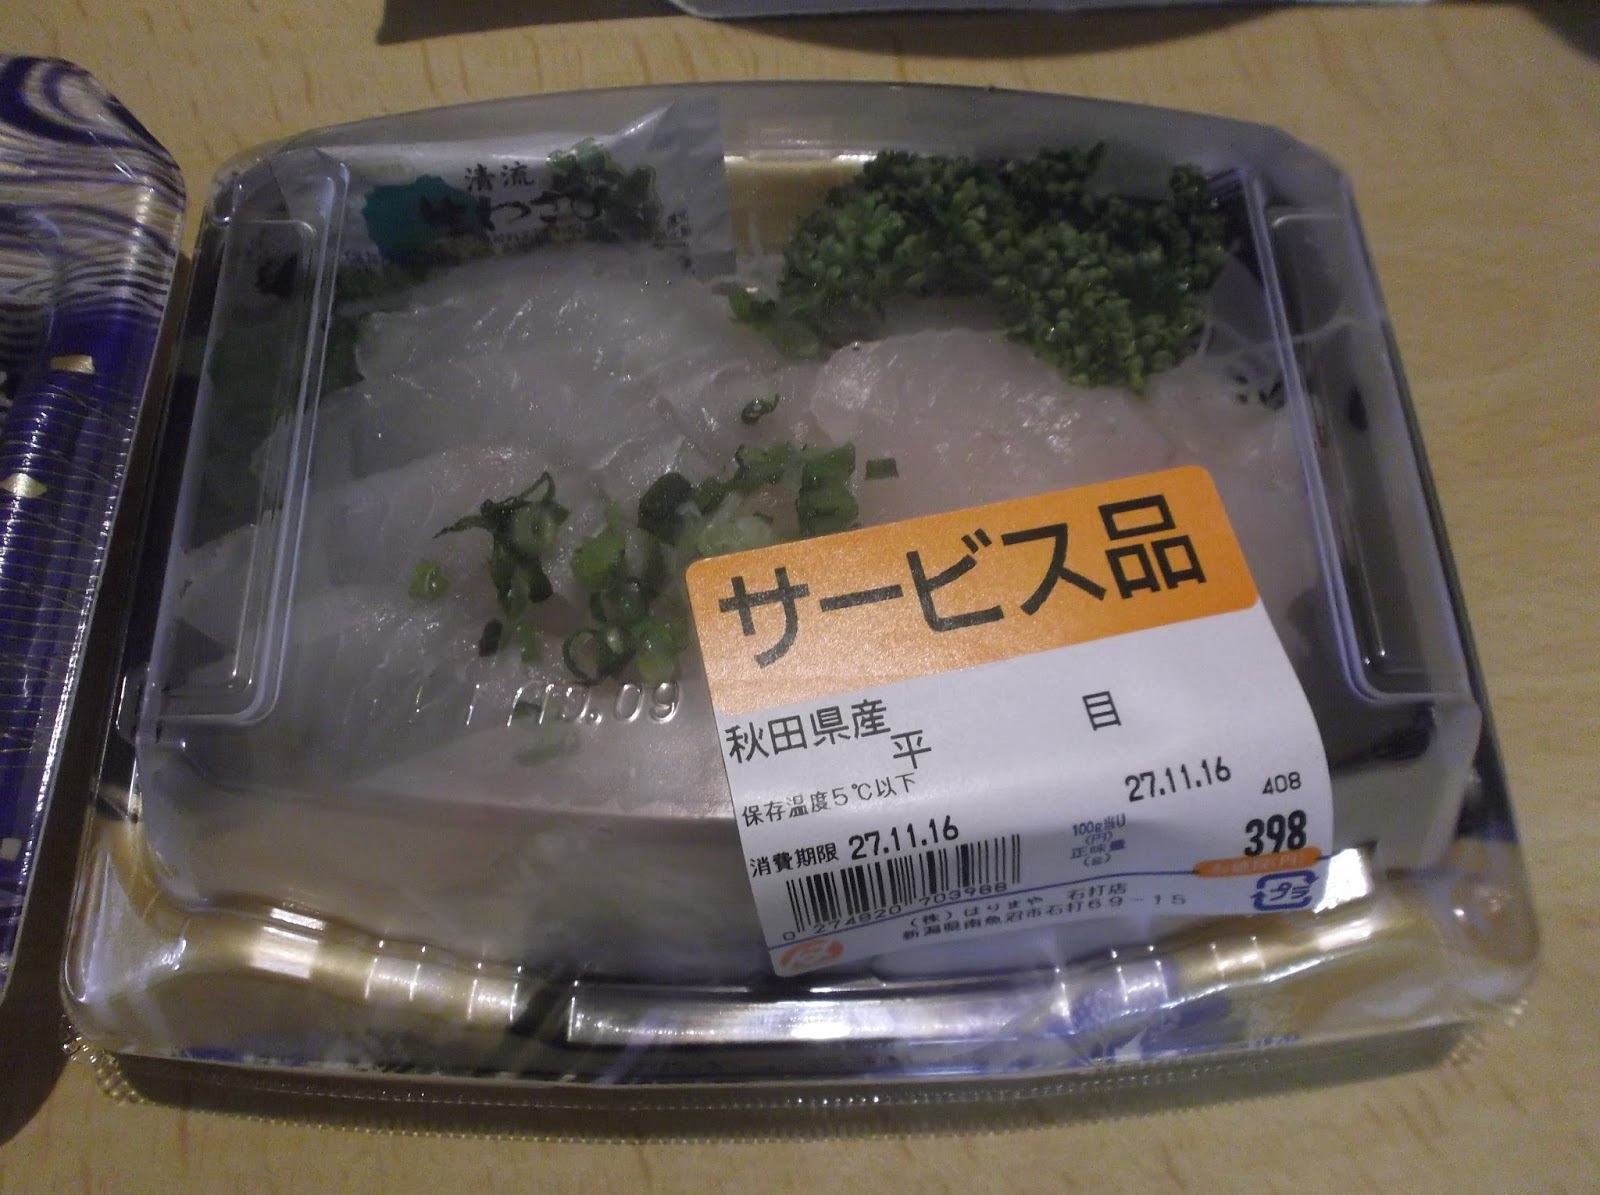
メカジキの刺身も各1パック買いました。

この自然薯には、息子も私もがっかりしました。普通、自然薯はとっても粘りっこいものです。

Images of yama kake don
とにかく、息子は、すった自然薯を山かけ丼風など色々な食べ方で楽しそうに食べました。
My wife, my daughter, and I are not very big fans of yam, so we had a very small amount of the grated jinenjo.
妻、娘、私は、山芋はあまり好きではないので、すった自然薯をちょっとだけ食べました。
Subscribe to:
Posts (Atom)