May 11, 2015

Coffee Brewing Experiment/コーヒー抽出実験

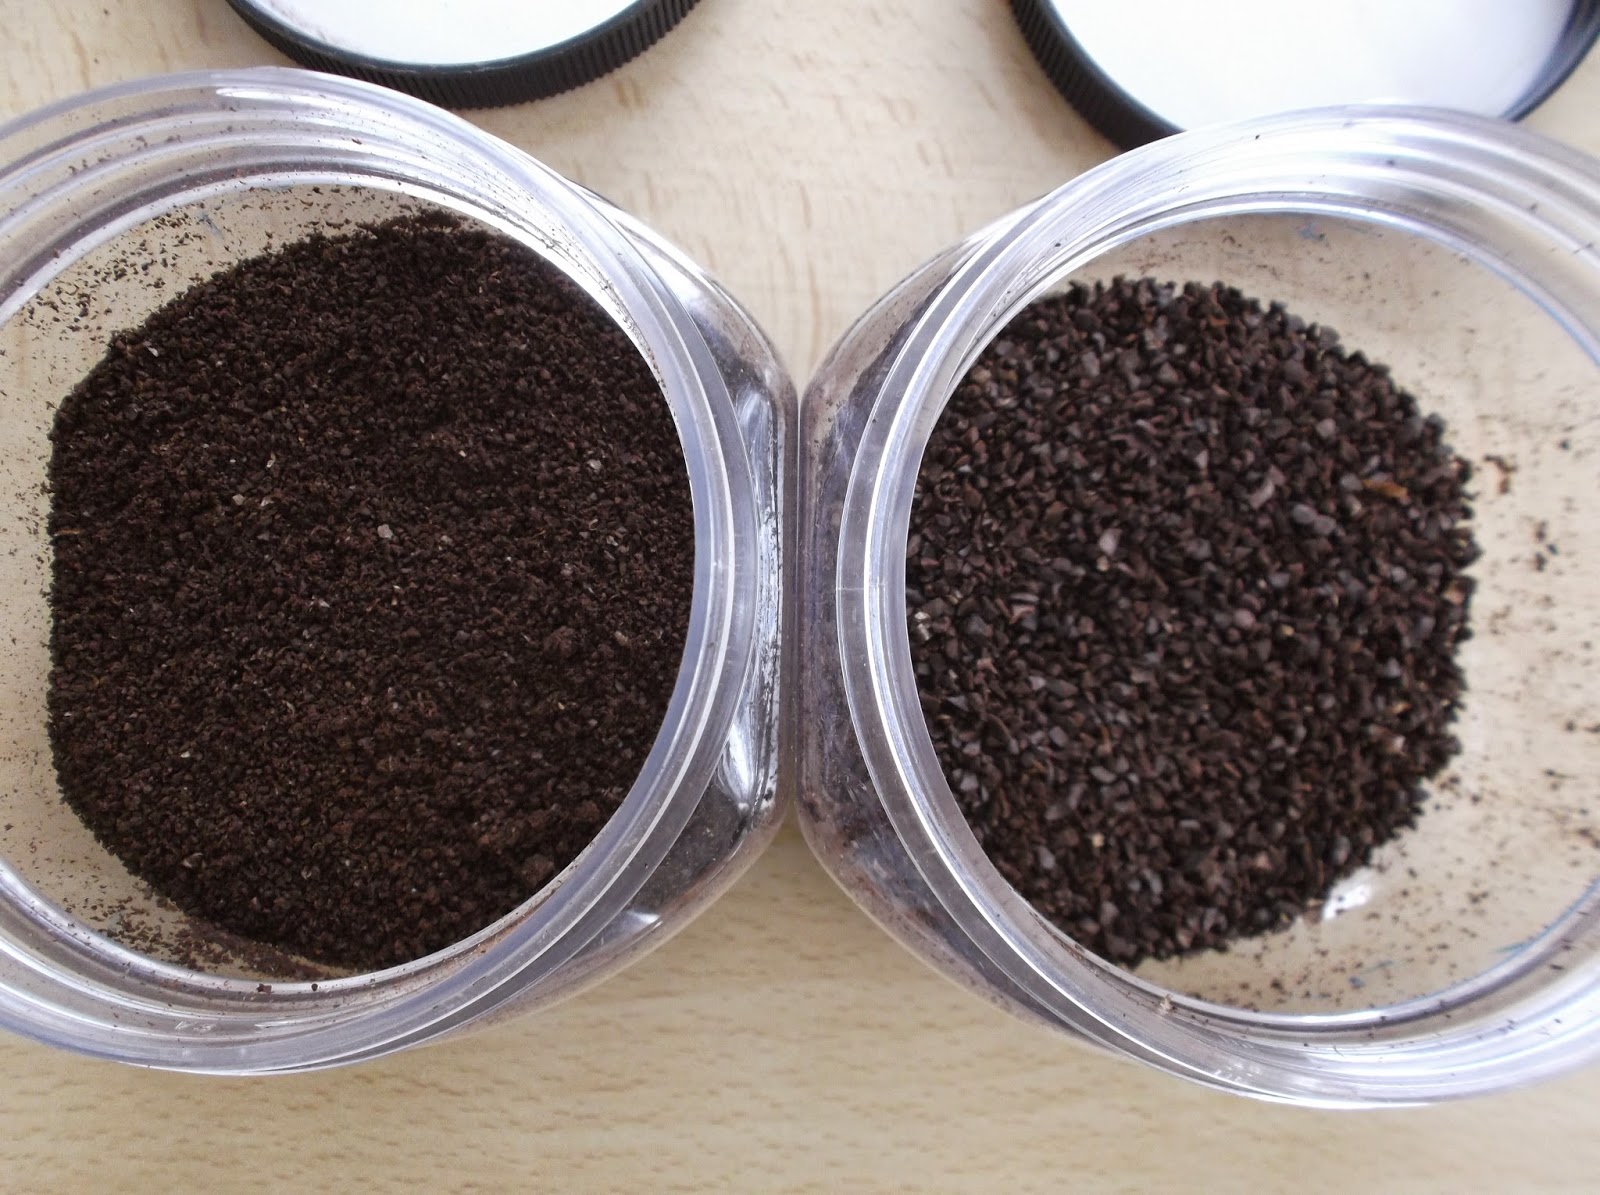
The R-440, the coffee mill I have purchased recently, has ten grind settings, 1 to 10. Here is a photo showing coffee beans ground with settings of 1 (left) and 9 (right).
最近購入したミルR-440は、挽き具合の設定が1~10までの10段階あります。設定1(左)と設定10(右)で挽いたコーヒー豆の写真です。
 
Since I got this commercial grinder, I have kept making brewing experiments. Here is one such example.
この業務用ミルを購入してから、抽出実験をしてきました。その一例を紹介します。

I'm not a type of person who would spend extra money for such experiments. I search through the kitchen for any appropriate items. So far, I have found these items quite useful.
私は、こんな実験のために余計なお金を出すような人間ではありません。適当な物がないかどうか、台所中を探しまわします。これまで、次の物がとても役立っています。
Tea strainer and an insulated mug attached with a lid.
茶こしと、蓋つきの断熱カップ。

The strainer fits perfectly in the 300-ml mug.
茶こしは、300 mlのコップにぴったり入ります。
1. Put coarsely ground coffee in the strainer.
1. 粗挽きのコーヒーを茶こしに入れます。
2. Pour a small amount of water directly from the thermos.
2. 魔法瓶から直接、お湯を少量注ぎます。
Note: Ideally, pour hot water at 95 degrees C (203 degrees F). The water from the thermos should be 85-90 degrees.
注: 理想的には、摂氏95度(華氏203度)のお湯を注ぎます。魔法瓶から出るお湯は85~90度程度です。

3. Put on the lid. Let it sit for 3 minutes (not 30 seconds) for blooming.
3. 蓋をします。3分(30秒ではなく)放置して、蒸らします。
Note: It takes 3 minutes to release all CO2 from the coffee beans.
注: コーヒー豆からCO2を全て抜くのに3分かかります。 
4. Pour additional water from the thermos. DO NOT STIR!
4. 魔法瓶からお湯をさらに注ぎます。かき混ぜない!
5. Put on the lid, and let it sit for 3 minutes.
5. 蓋をして、3分放置します。
Three minutes have passed.
3分経ちました。
6. Remove the strainer from the mug, using a chopstick or something similar, if necessary.
6. コップから茶こしを外します(必要なら、箸などを使って)。
7. Transfer the coffee from another mug, leaving the dregs in the initial mug.
7. コーヒーを別のカップに移します。コーヒーのカスは最初のマグに残します。
Dregs in the mug.
コップ内のカス。
The coffee is full of fines and oils. Some oil is floating on the coffee.
コーヒーは微粒子とオイルで一杯です。コーヒーの上にオイルが少し浮いています。
Completely different from the coffee made with the Matsuya method, but it's good in its own way.
松屋式で淹れるコーヒーとはまったく違いますが、それなりに美味しいです。

Almost forgot the basic data:
20 g coffee beans
300 g water
基本的なデータを忘れるところでした:
コーヒー豆 20 g
お湯 300 g

To be continued.
続く。

May 5, 2015

Hamburgers Made from Japanese Black Cattle Rump Steak/黒毛和牛ランプステーキで作ったハンバーグ

Recently, we were given some nice Japanese Black Cattle rump steak.
最近、黒毛和牛(くろげわぎゅう)ランプステーキをもらいました。
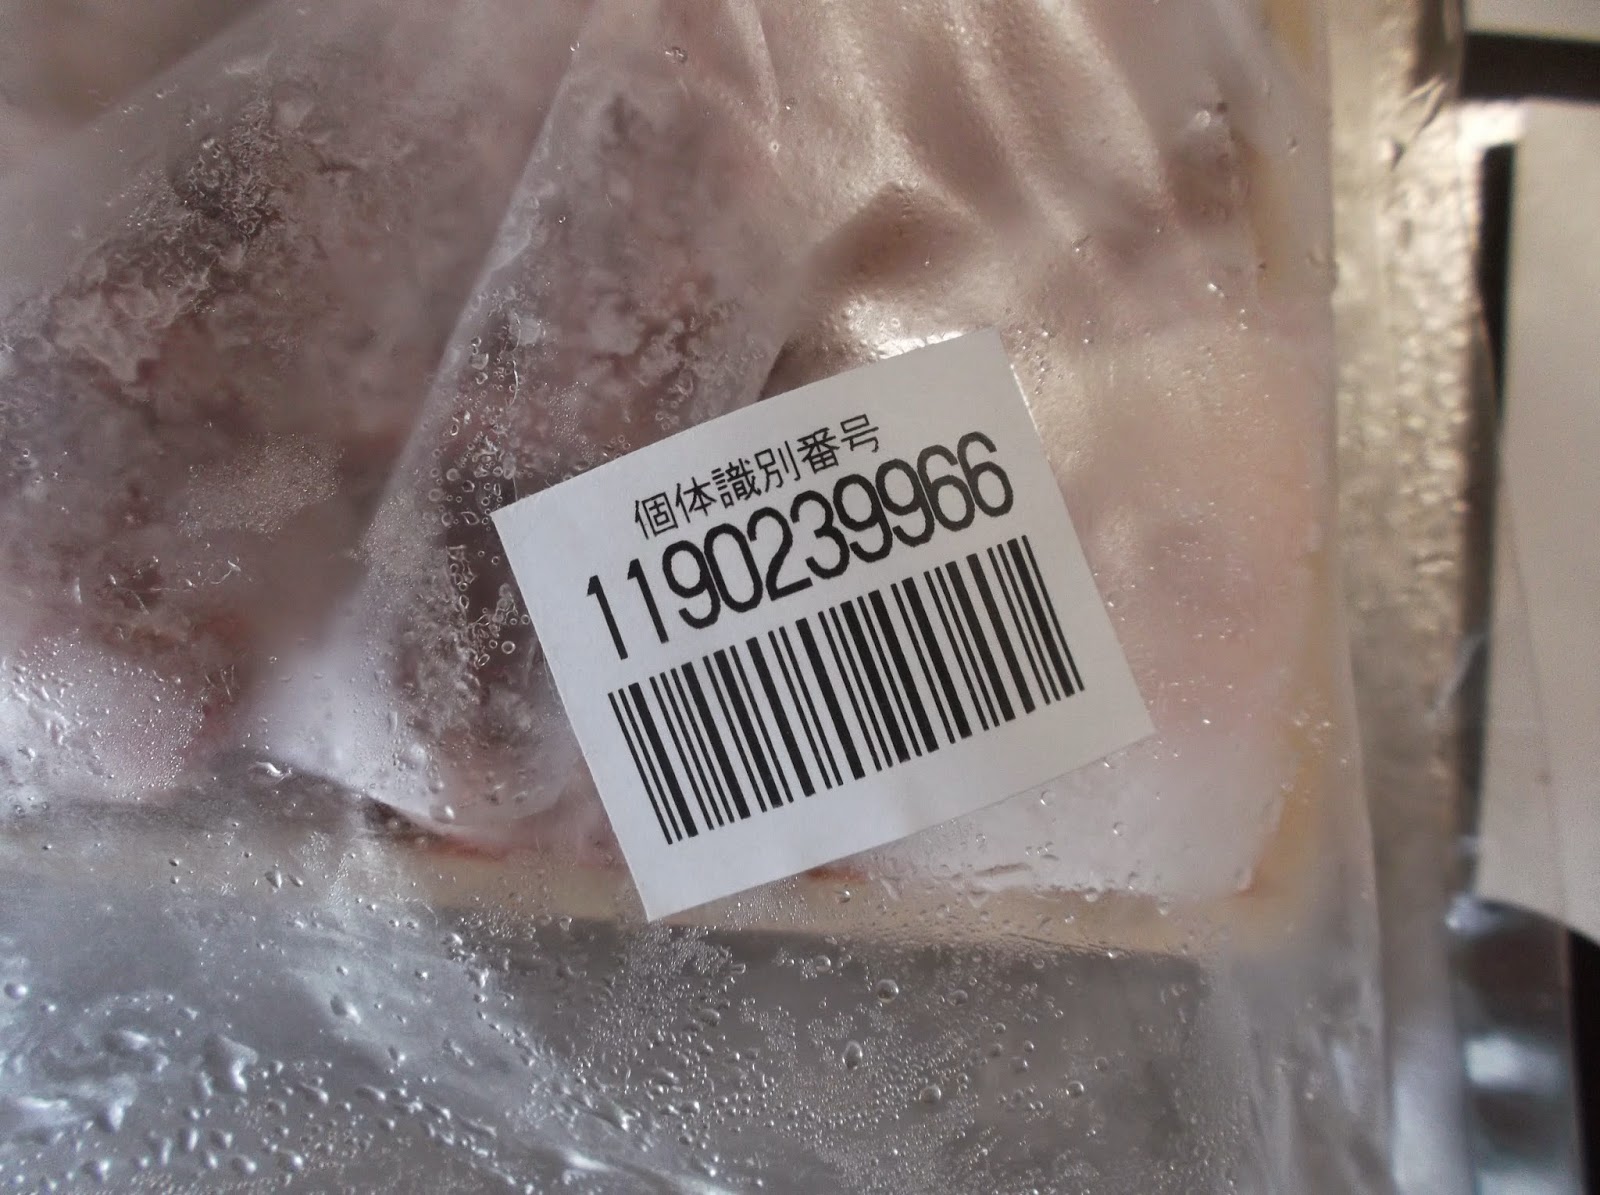
Individual identification number:
個体識別番号:
Instructions (right) and certificate (left):
説明書(右)と証明書(左):
Rump steak, thawed:
解凍したランプステーキ:
Five slices in total.
全部で5枚。

I cooked four of them in the frying pan, with no oil or salt, one at a time, according to the preferences of each family member (medium or medium rare). We had it with either salt and pepper or soy sauce.
The rump steak was good enough, but we recognized that we were not much of meat eaters.
フライパンで一枚づつ、油や塩なしで、家族それぞれの好みに合わせて(ミディアムかミディアムレア)調理しました。塩胡椒またはしょう油で食べました。
ランプステーキは十分美味しかったのですが、私たちはあまり肉好きではないことが分かりました。

So, the next day, I used the remaining one slice to make hamburgers.
そこで、翌日には、残りの一枚でハンバーグを作りました。 
In Japan, it is generally said that the best beef to pork ratio for hamburgers is 7 to 3, but I decided to try a 1:1 ratio.
日本では、一般的にハンバーグには牛肉と豚肉の割合は7対3が一番いいと言われていますが、私は1対1を試してみました。
Remaining one slice:
残りの一枚:
At first, I chopped it using two knives like you would to make "tataki", but this wouldn't work, so I cut it into thin slices first, with a single knife, and
最初は包丁を2本使って、「たたき」を作るように刻んだのですが、うまく行かないので、包丁一本で薄くスライスして、
chopped them vertically, and
縦に切り刻み、
chopped them diagonally several time.
斜めにも何回か切り刻みました。
I mixed the chopped beef with the minced pork, and added about 1% (3 g) salt.
刻んだ牛肉と豚の挽肉を混ぜ、塩を約1%(3 g)入れました。
I mixed them thoroughly for more than 2 minutes, using a large spoon.
大きなスプーンで2分以上よく混ぜました。
Then, I added one chopped onion, one egg, some pepper, and breadcrumbs (with no milk), and
次に玉ねぎのみじん切り1個、卵1個、胡椒、パン粉(牛乳なし)を入れ、
mixed again.
再度混ぜました。
I then turned it into patties, and placed them on the frying pan with some oil on it. Then, I turned on the gas, turned it to very low, and put on the lid.
パティ―にして、油を少し引いたフライパンに載せました。それから火を点けて、ごく弱火にして、蓋をしました。 
Because the onion was raw, it took a relatively long time to cook them, probably 4-5 min. for one side.
玉ねぎが生なので、火を通すのに比較的長く(片面およそ4~5分)かかりました。


I liked the hamburger much better than the steak.
ステーキよりハンバーグのほうがずっと良かったです。

I have recently made changes to my way of making hamburgers:
1. Do not make a dent at the center of each patty.
2. Do not release air from each patty.
3. Do not mix the meat and other ingredients with bare hands. Use bare hands only to form them into patties.
4. Use raw (not fried) onion.
(Note: I always cook hamburgers over very low heat right from the beginning.)
最近、ハンバーグの作り方を変えました:
1. 各パティ―の中央にくぼみを作らない。
2. 各パティ―から空気を抜かない。
3. 肉などを素手で混ぜない。素手を使うのは、パティ―にするときだけ。
4. 生の玉ねぎ(炒めた玉ねぎでなく)を使う。
(注: 私はいつも、ハンバーグは初めからごく弱火で焼いています。)
April 29, 2015

Cleaning the Fuji Royal Coffee Mill R-440/フジローヤルのコーヒーミルR-440のクリーニング

Today, I disassembled my R-440 to clean it thoroughly. I used a brand-new toothbrush and my vacuum cleaner for this work, among others.
今日は、R-440を分解して、徹底的に掃除しました。そのために新品の歯ブラシと掃除機などを使いました。
Well, not spanking clean but clean enough to grind coffee beans without hesitation.
ピカピカとは言えませんが、ためらうことなくコーヒー豆を挽けるまでにきれいになりました。


This washer was a mystery to me. After searching on the Internet, I realized that it was apparently used by the previous owner as a substitute for the "spill".
このワッシャーが謎だったのですが、 ネットで調べると、前の所有者が「スピル」の代わりに使っていたのではないかと分かりました。
EDITED TO ADD ON JUNE 23: I'VE BEEN NOTIFIED THAT A 8-MM DIAMETER WASHER IS THE SPILL FOR THE OLD MODEL OF THE R-400. THUS, THIS WASHER IS SUPPOSED TO BE THE AUTHENTIC SPILL, NOT A SUBSTITUTE.
6/23追記: 直径8ミリのワッシャがR-440の旧モデルのスピルだと知りました。よって、このワッシャは、代用品ではなく、正真正銘のスピルだということです。

The washer should go right here.
ワッシャーはちょうどここに入ります。
Then, mount this this part at the center,
そして、この部品を真ん中に取り付けます。
like this.
こんな風に。
Then, mount this dial.
次にこのダイヤルを取り付けます。
Finished!
完了!
I used a plastic container as the substitute for the hopper and a glass bottle as a substitute for the container for ground coffee.
ホッパーの代わりにプラスチック容器を、挽いたコーヒーを入れる容器の代わりにガラス瓶を使いました。
I ground 20 g of coffee beans coarsely.
コーヒー豆を20 g粗く挽きました。
Then I brewed the coffee in my usually way (using a Matsuya wire-frame dripper but not employing the Matsuya method).
いつも通りに(松屋の金枠ドリッパーを使うが、松屋式を使わずに)淹れました。

The difference from the coffee that I brew using coffee beans ground with my Milser (small-size blender) was apparent. Much clearer.
ミルサー(小型のミキサー)で挽いたコーヒー豆で淹れたコーヒーとの違いは一目瞭然でした。ずっとクリアです。

I forgot to post this photo. I also disassembled the dial to clean it.
この写真を忘れてました。ダイヤルも分解して掃除しました。
It took me a while to understand how the dial worked.
ダイヤルの仕組みを理解するのにちょっと時間がかかりました。

I'm really satisfied with the secondhand coffee mill.
この中古のコーヒーミルに本当に満足しています。


April 28, 2015

Fuji Royal Coffee Mill R-440/フジローヤルのコーヒーミルR-440

I finally got it! Fuji Royal Coffee Mill R-440! It's secondhand, it's not attached with the hopper or the container underneath, but I really don't care. It was only 10,000 yen!
It has been a dream of mine to get this particular model for years.
とうとう手に入れました!フジローヤルのコーヒーミルR-440です!中古で、ホッパーや下の容器も付いていませんが、全然気にしてません。たった1万円でした。
このミルを手に入れるのが長年の夢でした。

Webpage describing R-400/R-400を説明するページ (Japanese only) on the website of Fuji Royal
According to the webpage:
Hopper capacity: 1.0 kg
Grinding capacity: 500 g/min.
Power consumption: 360 W
Weight: 15.0 kg
In Japan, the R-440 is regarded by many as the standard coffee mill for commercial use. 
A brand-new one will cost around 70,000 yen.
このページによると:
ホッパ容量: 1.0 kg
粉砕能力: 500 g 毎分
消費電力: 360 W
重量: 15.0 kg
日本では、R-440が業務用の標準的なコーヒーミルだと多くの人が思っています。
新品は7万円程度します。