January 4, 2016

Roasting Three Batches of Coffee/コーヒーを3回焙煎

Today, I have roasted three batches of coffee, 600 g per batch, to different roast levels, 15%, 16%, and 17% weight reductions. My plan is to "blend" these three different roasts at different ratios to give to different people.
今日は、コーヒーを3回(一回当たり600 g)、色々な焙煎度(重量減15%、16%、17%)に焙煎しました。私の計画は、この3種類の豆を色々な割合で「ブレンド」して、色々な人にあげることです。
 

Edited to add on Jan. 5:
1/5追記:

So, how do I achieve the desired roast level for every batch? Here's how I do it:
1. Put 600 g of coffee beans in the roasting pot.
2. Measure the total weight of the coffee beans, pot, wooden container (placed on top of the kitchen scale), and aluminum foil (used as a lid), which is 1034 g.
3. Check when first crack occurs, which is usually 9-11 minutes after the start of roasting.
4. 2 minutes after first crack, start measuring the total weight, which should be 944, 938, and 932 g for the roast levels of 15, 16, and 17%, respectively, MINUS 7-8 g.
5. Transfer the coffee beans to a sieve, and cool.
6. Measure the weight of the coffee beans.

These particular roasts were 513, 507, and 501 g, respectively, which are 3 g more than they should be (510, 504, and 498 g). Anyway, not bad results.
どうやって、各回毎に希望する焙煎度にするかと言うと、
1. 焙煎鍋にコーヒー豆を600 g入れる。
2. コーヒー豆、鍋、木製の容器(はかりの上に置く)、アルミ箔(蓋として使用)の全部の重さを測る( 1034 g).
3. いつ1ハゼが起きたか調べる(通常、焙煎開始から9~11分)。
4. 1ハゼから2分後、全部の重さを測り始める。焙煎度15、16、17%それぞれ、944、938、932 gから7~8 g引いた重さになるようにする。
5. コーヒー豆をザルに移し、冷やす。
6. コーヒー豆の重さを測る。

上記の場合は、それぞれ、豆の重さは513、507、501 gで、希望する重さ(510、 504、498 g)より3 gだけ重かったです。ともかく、悪い結果ではありません。

January 1, 2016

Humble Osechi 2016/2016年の質素な御節(おせち)

On New Year's Day, my family had rather a late breakfast together at around eight thirty. (I usually get up at 5:30 and have breakfast alone at around 6:00.)
Well, actually, I had had one bun earlier because I was so hungry.
元旦は、家族みんなで、8時30分ごろ、遅い朝食を取りました(私は普段は5:30に起き、6:00頃には一人で朝食を食べます)。
実は、お腹がすいていたので、先に菓子パンを一つ食べていました。

My o-zoni (soup with mochi in it) on the left and nimono (simmered dish) on the right:
左側にお雑煮、右側に煮物:
My wife made the o-zoni yesterday and the nimono the day before yesterday. It's customary refraining from cooking on the first three days of New Year. Naturally, such a custom is dying out.
妻は、お雑煮を昨日作り、煮物は一昨日作りました。正月(しょうがつ)の三が日(さんがにち)は、料理をするのを控える習慣がありますが、もちろん、そんな習慣はなくなりつつあります。

My family's humble osechi:
我が家の質素な御節:
All items, except the chestnut-less "kinton" (mashed sweet potato mash), are store-bought.
栗なしの「きんとん」以外は、すべて市販のものです。

Seasoned octopus and kohaku (red-and-white) namasu (vinegared dish of carrot and daikon):
味付け蛸(たこ、タコ)と紅白なます:
Store-bought ham:
市販のハム:
My wife forgot to include it in the juubako (multitiered box), shown above, and put it on a plate.
妻はハムを、重箱に入れるのを忘れたので、お皿に起きました。
(A juubako is a multitiered box, so the word is a misnomer for my family's juubako because it has only one tier!)
(重箱とは、複数の段がある箱のことで、我が家の重箱は一段しかないので、重箱と呼ぶのは間違いですが。)

New Year's Holidays in Japan are like Christmas time in other countries.
正月は、外国のクリスマスのようなものです。


I have not failed/失敗したわけではない

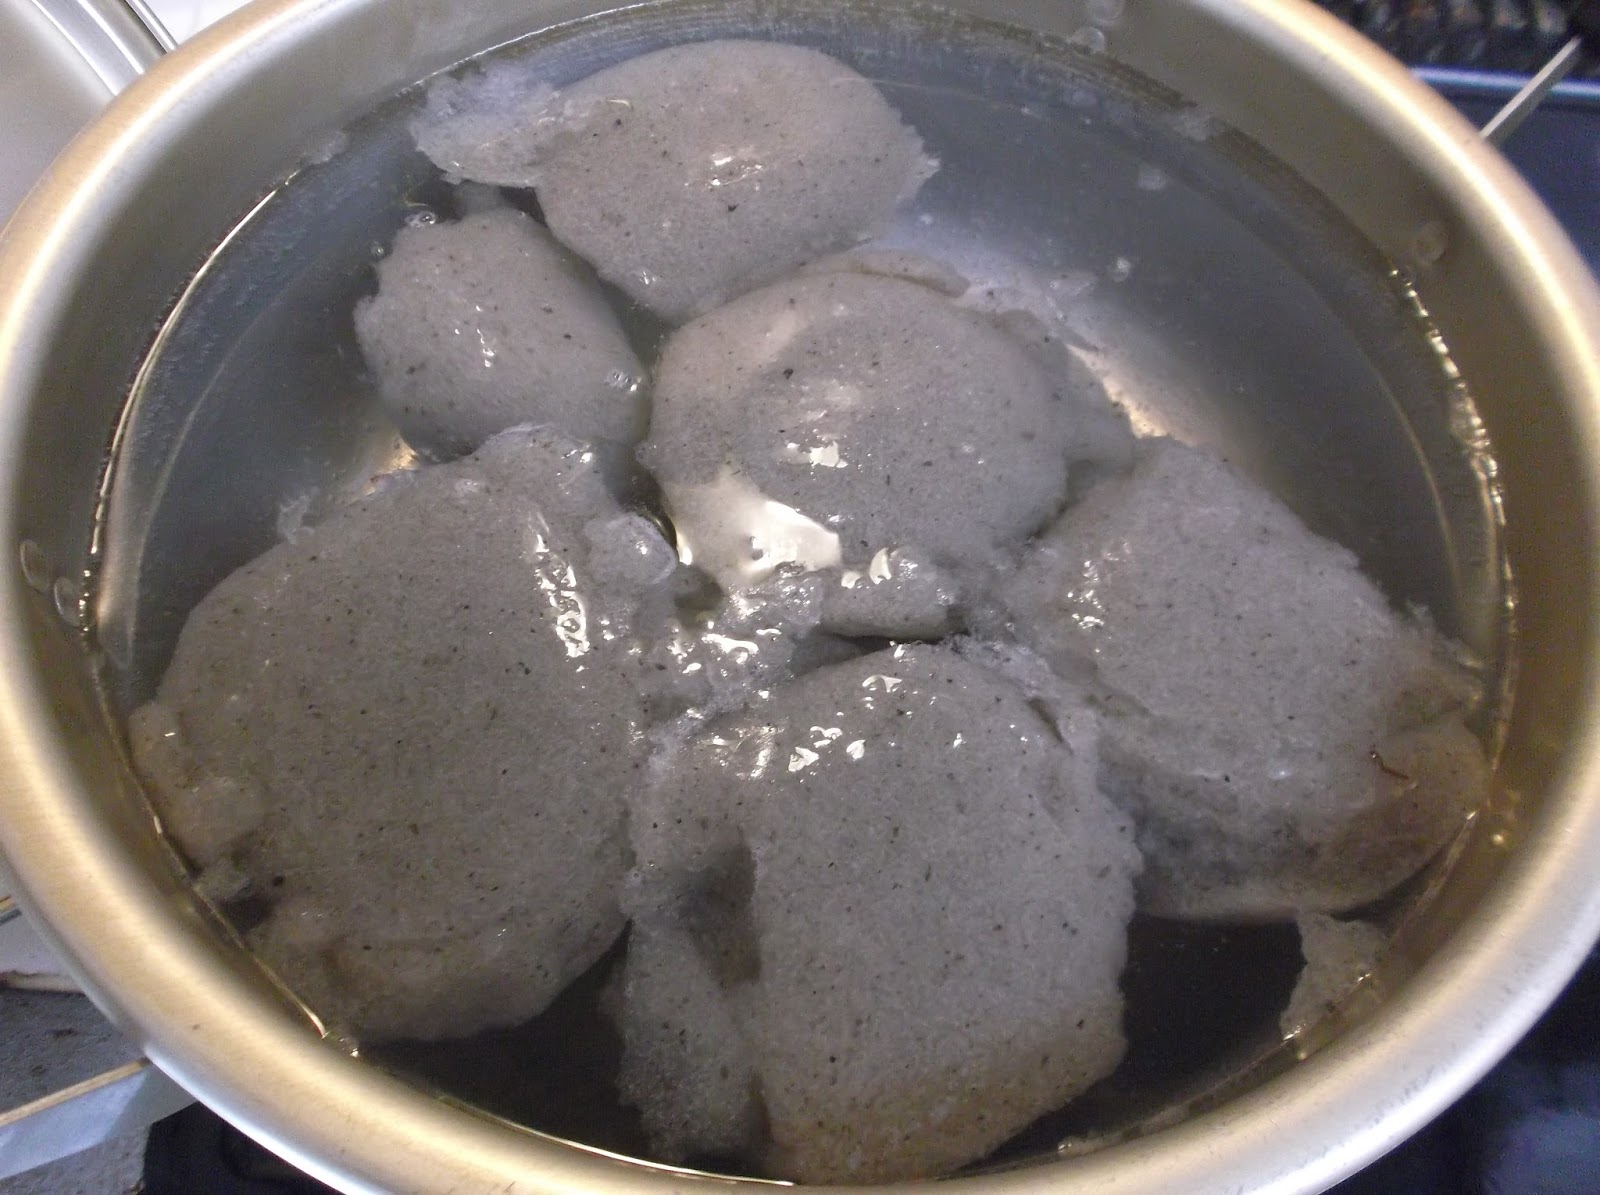
My very first attempt to make konnyaku ended in what you might call "failure". Personally, I don't like to use such a negative word. Like Edison said, "I have not failed...," I'd say that I have just found one way that won't work for me.
私の初のこんにゃく作りは、「失敗」とも言うようなものでした。でも私自身はそんなネガティブな言葉を使いたくなく、エジソンが「失敗したわけではない(失敗したことがない)」と言ったように、私も、ただ自分にはうまく行かなかったやり方を一つ見つけただけだと言いたいです。

The recipe I used was exactly the same as that I previously described, except that I didn't peel the konnyaku potato and I added 1% of sodium carbonate, not 2%. The konnyaku paste wouldn't become firm after I simmered it for 30 minutes.

By not peeling the konnyaku potato, you can make black konnyaku. Note that store-bought black konnyaku is made by adding hijiki and other seaweed to konnyaku powder.
使ったレシピは、先に説明したのとまったく同じですが、違う点は、こんにゃく芋の皮を剥かなかったことと、炭酸ナトリウムを2%ではなく1%使ったことです。こんにゃくのペーストは、30分煮た後も、硬くなりませんでした。

こんにゃく芋の皮を剥かないと、黒こんにゃくができます。市販の黒こんにゃくは、こんにゃく粉にひじきなどの海藻を入れて作っています。


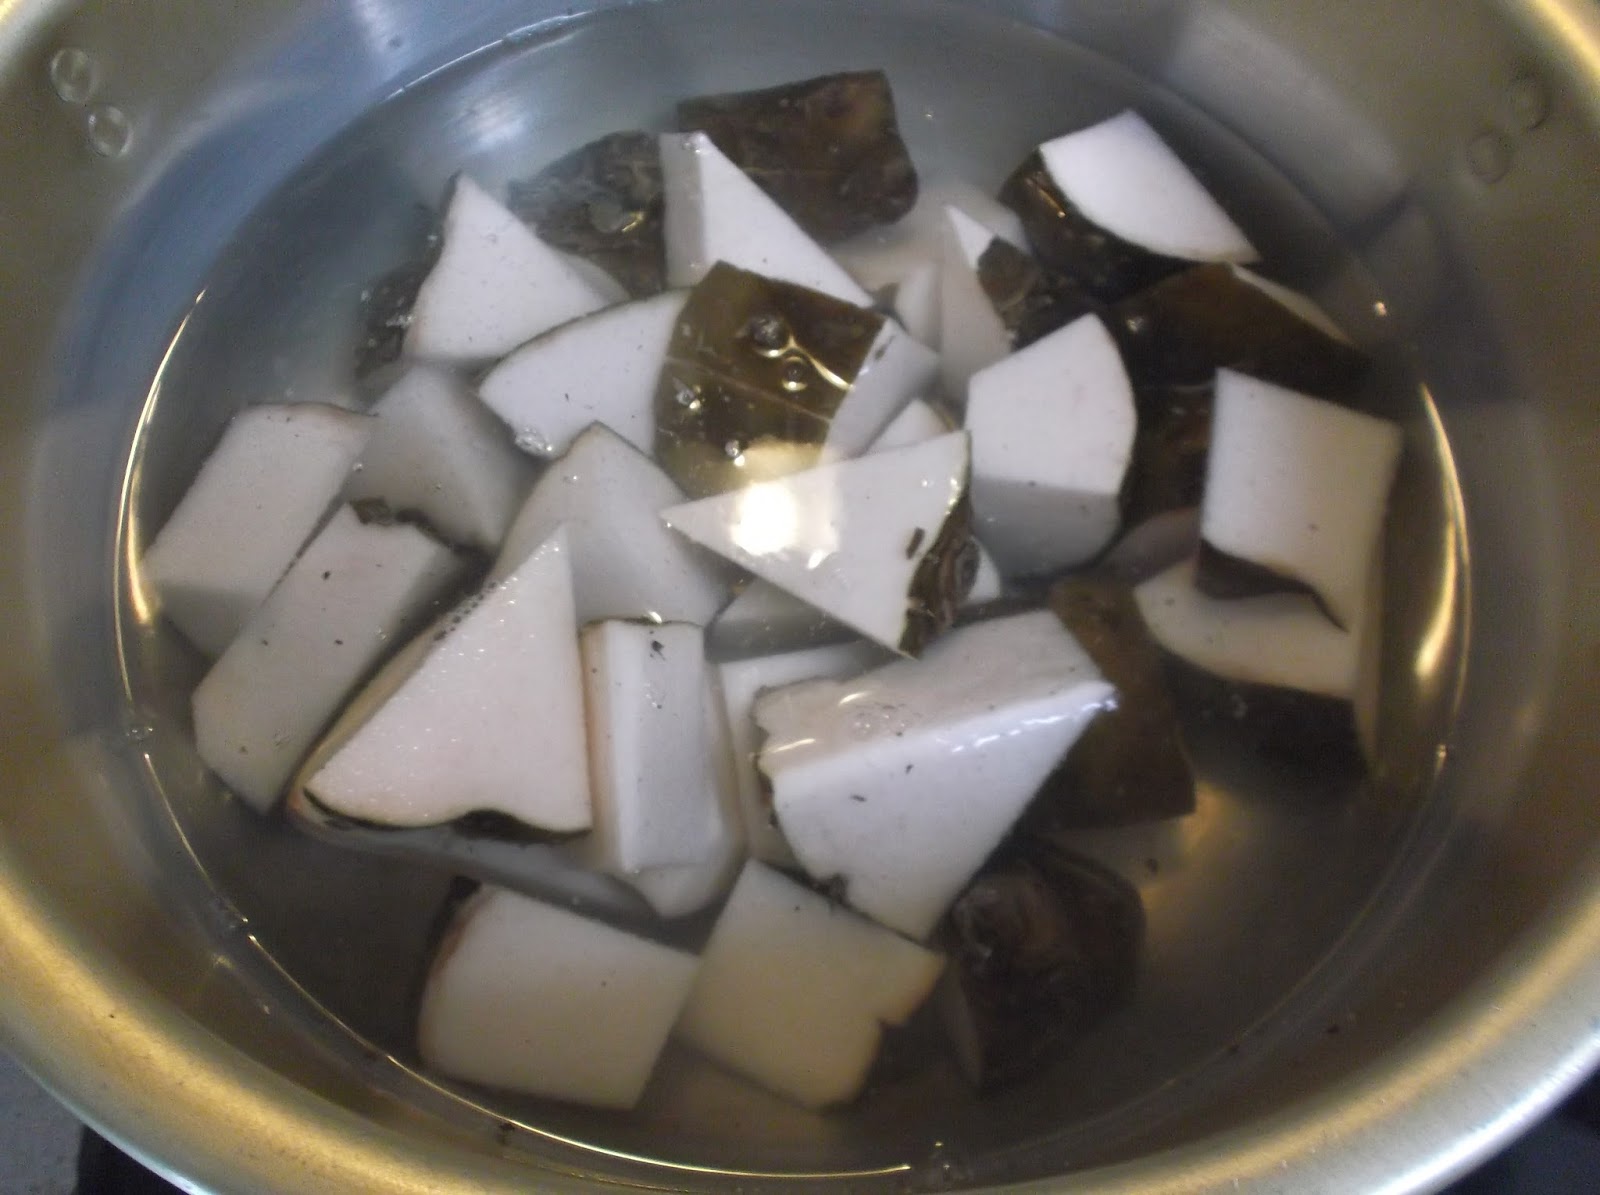
Compare them the the ones below, made with 2% sodium carbonate, skin peeled.
これを、皮を剥いて、2%の炭酸ナトリウムで作ったのと比較して下さい。
I think I can say that I now know one way to make konnyaku properly.
今では、こんにゃくをちゃんと作る一つの方法を知っていると言えると思います。

December 29, 2015

Making Konnyaku from a Konnyaku Potato (Corm)/こんにゃく芋(球茎)からこんにゃくを作る

Making konnyaku from a konnyaku potato (corm) is time-consuming, but you will find it rewarding if you like konnyaku.
こんにゃく芋(球茎)からこんにゃくを作るのは、時間がかかりますが、こんにゃく好きな人なら、やりがいがあると思うでしょう。

Ingredients:
500 g konnyaku  potato (corm)
1,500 g water (3 times the weight of the konnyaku potato)

10 g anhydrous sodium carbonate (2% of the weight of the konnyaku potato)
125 g water at 50-70 degress C (1/4 of the weight of the konnyaku potato)

You will need:
A pair of rubber gloves (I used two plastic bags and a wooden spatula.)
A large pot (preferably enameled) or a big mixing bowl
A large pot
A blender
A container used to dissolve sodium carbonate
Thermometer (optional)
材料:
こんにゃく芋(球茎) 500 g
水 1,500 g(こんにゃく芋の重さの3倍)

無水炭酸ナトリウム 10 g(こんにゃく芋の重さの2%)
摂氏50~70度のお湯125 g(こんにゃく芋の重さの1/4)

必要な道具:
ゴム手袋(私はビニール袋2枚と、竹へらを使いました)
大きな鍋(できればホーロー)または大きなボール
大きな鍋
炭酸ナトリウムを溶かすための容器
ミキサー
温度計(なくてもよい)

Konnyaku potato given to me by my father:
父からもらったこんにゃく芋
  

Quite large, almost 1 kg.
かなり大きく、1キロ近くあります。
1. Wear rubber gloves to protect your hands from getting itchy from the calcium oxalate contained in the potato.
2. Cut the potato into manageable sizes. Remove the pink sprout (which is bitter).
1. ゴム手袋をして、こんにゃく芋に含まれるシュウ酸カルシウムで手がかゆくなるのを防ぎます。
2. こんにゃく芋を適当な大きさに切ります。ピンクの芽(苦い)は取り除きます。
 
3. Put them in a pot of water. Bring to a boil, and simmer for about 20 minutes until soft.
3. 水の入った鍋に入れ、沸騰させ、20分程度、柔らかくなるまで煮ます。
I don't know why, but it took me more than 30 minutes to cook them until soft.
なぜか分かりませんが、柔らかくなるまで煮るのに30分以上かかりました。
4. Drain.
4. 水を切ります。
5. Peel by hand or a knife. At this point, you don't have to wear rubber gloves.
5. 手や包丁で皮を剥きます。ここでは、ゴム手袋をする必要はありません。
6. Process them in a blender in three parts, using 400 g of water each time (400 g x 3 = 1,200 g in total), and transfer the contents of the blender to a large pot (preferably enameled). 
6. ミキサーで3回に分けて、各回、水を400 g使って、ミキサーにかけ(全部で400 g x 3 = 1,200 g)、ミキサーの中身を大きな鍋(できればホーロー)に移します。 
7. Use the remaining (1,500 - 1,200 = 300 g) water to clean the inside of the blender, and add the water to the pot.
8. Stir the contents of the pot well, with a spatula.
7. 残りの水(1,500 - 1,200 = 300 g)を使って、ミキサーの内部をきれいにし、その水を鍋に入れます。
8. 鍋の中身を、へらでよく混ぜます。

9. Measure out 10 g of anhydrous sodium carbonate, and dissolve it in 125 g of water at 50-70 degrees C.
9. 無水炭酸ナトリウムを10 g量り、50~70度のお湯125 gに溶かします。
Note: The hotter the water solution, the faster the chemical reaction. The water solution should be in the 50-70 degree range.
注: 水溶液が温かい程、化学反応が速くなります。水溶液の温度は50~70度の範囲にします。


10. Make sure that the contents of the pot is cool enough (< 30 degrees C).
11. WEAR RUBBER GLOVES.
(I didn't wear gloves but used a wooden spatula.)
12. Add the water solution to the pot, and mix well with your hands.
(I used a wooden spatula.)
10. 鍋の中身の温度が十分低い(30度以下)であることを確認します。
11. ゴム手袋をします。
(私はゴム手袋はせず、竹のへらを使いました。)
12. 水溶液を鍋に入れ、手でよく混ぜます。
13. Let sit for 20 minutes or so. (You may want to transfer the contents of the pot to a tupperware container or something, if you want to make rectangular konnnyaku.)
In the meantime, put a large amount of water in a large pot, and bring to a boil.
13. 20分程放置します(長方形のこんにゃくを作りたいなら、鍋の中身をタッパーなどの容器に移して下さい)。
その間、大きな鍋に大量の水を入れ、沸騰させます。

14. Turn down the gas. Using a ladle (or hands with rubber gloves on), put the contents of the pot in the pot of boiling water.
14. 火を弱めます。お玉(またはゴム手袋をした手で)、鍋の中身を、沸騰水の鍋に入れます。
15. Simmer for about 20 minutes.
15. 20分程煮ます。
16. Done!
16. 完成!

Store them in a pot/container of cold water. They can keep for 15 days to 1 months at room temperature.
冷水の入った鍋や容器で保存します。常温で15日~1か月もちます。

When you cut one block in half, you will see that it has a lot of air bubbles in it.
半分に切ってみると、中には気泡がいっぱいあることが分かります。

One characteristic of home-made konnyaku. When you cook it, you will see that it can absorb the broth more quickly than the store-bought kind.
手作りこんにゃくの特徴の一つです。料理すると、市販のものよりずっと早く出汁を吸い込むことが分かります。
This particular konnyaku, which I have made today, is less chewy than the store-bought kind, and I think it can also be eaten as sashimi konnyaku.
今日私が作ったこのこんにゃくは、市販のよりずっと柔らかいので、刺身こんにゃくとしても食べられると思います。

***
I'll add some notes later.
後で、注意事項を少し述べます。

Edited to add the following on Dec. 30:
12/30下記を追記:
Notes:

1. Two types of recipes
Recipes for making konnyaku from a konnyaku corm are largely divided into the grate first and then simmer type and the simmer first and then grate type. I think that the latter type is easier to follow.
2. Corm-to-water ratio
Recipes range from a ratio of 1:3 to 1:5.
3. Coagulant
Use sodium carbonate (Na2CO3) as coagulant.
I used anhydrous sodium carbonate, given to me by my father. The bag of the product says, 精製ソーダ, seisei soda, lit. refined soda. Anyway, when purchasing, be sure to specify that you want to make konnyaku with it, and purchase an edible grade product.
The amount of sodium carbonate to use is 2 to 5% of the konnnyaku corm, depending on the recipe.

You cannot use NaHCO3 (sodium hydrogen carbonate, sodium bicarbonate, or baking soda) because it is not alkaline enough.
Some recipes, however, uses baking soda, like this one:
http://www.shejapan.com/jtyeholder/jtye/living/konnyaku/gran.html
Someone says here http://pde.gozaru.jp/life-style/96-konnyaku-081124.htm (Japanese only) that you can make sodium carbonate by dissolving baking soda in boiling water and successfully makes konnyaku.
Someone else claims that you can make sodium carbonate by heating baking soda in a frying pan
http://blog.rustle.info/archives/448 (Japanese only)
2NaHCO3→Na2CO3 + CO2 + H2O
From this formula, you can use 168 g of baking soda to make 106 g of sodium carbonate.

You can also use calcium hydroxide (slaked lime), but because of its higher alkalinity, you should use less than sodium carbonate. One source suggests 1.5 to 2.5 % of the weight of the konnyaku corm. You also have to be more careful when adding the water solution to the konnyaku paste because the chemical reaction will be faster, possibly causing the paste to be lumpy if you do not mix it quickly enough.
Be careful not to get it into your eyes. This is also true if you use sodium carbonate.

注意事項:

1. 2種類の方法
こんにゃくをこんにゃく芋から作る方法は、大きく二種類に分かれます。すってから煮る方法と煮てから、する方法です。私としては、後者のほうがやり易いと思います。
2. こんにゃく芋と水の割合
レシピにより、割合は1:3~1:5程度です。
3. 凝固剤
凝固剤には炭酸ナトリウム(Na2CO3)を使用します。
私は、父からもらった無水炭酸ナトリウムを使いました。この製品の袋には、精製ソーダ(せいせいそーだ)と書かれています。ともかく、購入時には、こんにゃくを作るのに使いたいと指定して、食用の製品を購入して下さい。
炭酸ナトリウムの使用量は、レシピにより、こんにゃく芋の2~5%です。

NaHCO3(炭酸水素ナトリウム、重炭酸ナトリウム、重そう)は、アルカリ度が低いので使えません。
しかし、下記のように、重そうを使ったレシピもあります:
http://www.shejapan.com/jtyeholder/jtye/living/konnyaku/gran.html
ここhttp://pde.gozaru.jp/life-style/96-konnyaku-081124.htmでは、重そうを熱湯に溶かして炭酸ナトリウムを作って、ちゃんとこんにゃくができると書かれています。
また、他の人は、フライパンで重そうを加熱すると、炭酸ナトリウムができると書いています。
http://blog.rustle.info/archives/448
2NaHCO3→Na2CO3 + CO2 + H2O
この式から、重そう168 gを使って、106 gの炭酸ナトリウムができるそうです。

水酸化カルシウム(消石灰)も使えますが、アルカリ度が炭酸ナトリウムより高いので、使用量は減らします。或る本では、こんにゃく芋の1.5~2.5%を推奨しています。また、こんにゃくのペーストに水溶液を加える時は、もっと注意しないといけません。化学反応が速いため、すぐに十分混ぜないと、塊りができてしまうことがあります。
目に入らないよう、注意して下さい。炭酸ナトリウムを使う場合も同様です。

December 22, 2015

Amazake Recipe/甘酒のレシピ

Today, I posted an amazake recipe to COOKPAD. Here's a translation of it. It's a simple, workable recipe, so I hope you consider trying it when you ever decide to make amazake.
今日は、クックパッドに甘酒のレシピを載せました。その翻訳です。簡単で実際的なレシピなので、甘酒を作る時は、試してみて下さい。

***

Making amazake with koji and leftover rice in a thermos/vacuum flask

Put koji and leftover rice in a thermos/vacuum flask to make amazake. Just keep them at 60 to 55 degrees C for 8 to 12 hours.

Ingredients
400 g fresh koji
400 g cooked rice (same amount of koji)
1200 ml hot water at 65 degrees C (3 times the amount of koji)
Small amount of boiling water (about 200 ml) for warming the thermos flask
Thermos flask with a capacity of about 2 liters
Thermometer REQUIRED.

Fresh koji, cooked rice, and water ratio = 1:1:3

1 My beloved thermos flask. One that won't get the water out when I press the button. Rather than just throwing it away, I use it as an invaluable tool for simmering soybeans, azuki beans, and so on. I have removed the tube (inside).

2 It's easy to handle because the lid is detachable. The capacity is 2.2 L. For a portable thermos bottle with a capacity of about 1 liter or so, use about 200 g of koji.

3 My favorite, locally produced fresh koji. 400 g. The koji, cooked rice, water ratio is 1:1:3, so for 200 g of koji, use 200 g of cooked rice and 600 ml of hot water.

4 On the back of the bag, directions for making amazake are written. The recipe uses no cooked rice. In that case, amazake can be made in 2 hours.
5 I've never used dried koji, so I'm not really sure but you may want to <1> Soften with hot water and/or <2> Add some extra hot water.

6 Crumble koji in the bag (into individual grains).

7 I took mine out of the fridge and placed it on the kitchen counter. 30 minutes later, it was 15 degrees. I wanted to wait until it reached room temperature (around 20 degrees), but I went on to the next step.

8 Bring 1,400 ml of water to a boil, and put 200 ml of it in the flask. Cool the remaining 1,200 ml to 65 degrees.

9 400 g of leftover rice. Microwave it. Cool it to around 70 degrees, by checking with a thermometer.

10 Drain water from the flask.
(I checked the temperature inside the flask, and it was more than 80 degrees, so I waited until it went down to around 70 degrees.)

11 Put koji in the flask.

12 Add 1,200 ml of water at 65 degrees. Add rice, too. Mix well with cooking chopsticks.

13 Check the temperature. Ideally, it should be 60 degrees. This time, it was 57.

14 I added some 70-degree water, and put on the lid. The flask was full!

15 Take care not to increase the temperature to 65 degrees or higher. Otherwise, the enzymes will be deactivated. Once deactivated, they will never be activated again when the temperature goes down.

16 The kojikin (Aspergillus oryzae) itself dies at around 50 degrees. It's not the kojikin but the enzyme produced by it that turns starch into sugar.

17 Amazake contains more than 100 types of enzyme. When you consume them, however, they will be decomposed in your body.

18 I placed a note so that my children wouldn't touch it.

19 This time, I made it at 8:00 p.m., and when I checked the temperature at 6:00 the next morning (10 hours later), it was 53 degree. Not bad. If it is 50 degrees or lower, you may want to reheat it (after transferring it to a pot).

20 You must reheat it up to 60 degrees. At 8:00 a.m. (12 hours later), it was 51 degrees. I decided to stop the fermentation.

21 I transferred it to a big pot.

22 And, then, to plastic containers. This time, I accidentally put a little more water than necessary, so I got a large amount (more than 2 liters).

23 Sweet and tasty. If the texture of the rice grains bothers you, you may want to <1> Make the cooked rice into congee and/or <2> Process it in a blender after it's made.

24 If you want to stop the workings of the enzymes, heat the amazake to 65 degrees or higher to deactivate the enzymes in step 21.

25 Personally, I like to put it in the fridge when it gets cool, rather than heating it, and use it up in, say, 7 to 10 days.

Tips:

Temperature control is the key to amazake making! A thermometer is a must!!! For success, be sure to use one!

How and why this recipe is created

When I studied amazake making, I found a lot of ways to keep the temperature to 60-55, such as using a yogurt maker, rice cooker, and kotatsu (traditional Japanese heating device), and I thought that among them, a thermos flask should be the easiest to use. As for a ratio, I wouldn't be able to get a lot without adding rice, and I settled on a ratio of 1:1:3.