February 28, 2017

Making Seri Gohan with Cultivated Seri and Cultivating Seri from Roots/栽培のセリでセリご飯を作り、根っこでセリを栽培

Yesterday, my father bought three bunches of cultivated seri.
昨日、父が栽培のセリを三束買ってきました。

My father wanted to cultivate seri from the roots, so I cut off the roots, with about 5 cm of the stems attached, and
父は、根っこからセリを栽培したいと言うので、根っこを、茎を5 cm程度付けて、切り取り、
put the roots in a container full of water.
根っこを水の入った容器に入れました。
I am now fully convinced that cultivated seri should NOT be parboiled to make seri gohan, unlike wild seri. The reason is simple: Cultivated seri has much less "aku" (harshness) than the wild, and need not be parboil. Besides, you will lose much of its flavor if you parboil it first.
セリご飯を作る際は、野生のセリと異なり、栽培のセリは茹でるべきではないと確信しています。理由は簡単です。栽培のセリは野生のセリよりずっと灰汁(あく、アク)が少なく、必要はないからです。それに茹でると風味がかなりなくなってしまいます。

So, I simply cut the seri into 2-3 cm lengths, rinsed with water, drained, and put it in a frying pan with some oil. I put on the lid, and heated it for 3-4 minutes. I used salad oil, not sesame seed oil.
というわけで、セリを単に2、3センチに長さに切り、水で洗い、水を切り、少し油を敷いたフライパンに入れ、3、4分加熱しました。 油はごま油ではなく、サラダ油を使いました。
(Last time I made seri gohan, I used sesame seed oil, but my father said he preferred salad oil.)
(この前にセリご飯を作った時は、ごま油を使いましたが、父はサラダ油のほうが好きだそうです。)
Then, I added leftover rice.
次に残りごはんを入れました。
I should have microwaved the rice first.
ご飯をまず電子レンジで加熱しておくべきでした。

I added some salt and some soy sauce.
塩を少し、しょう油も少し入れました。
Done!
完成です!

My father planted the roots in a plot later.
父は後で、根っこを植えました。

This is the second time he has planted seri roots. The first roots have grown only slightly.
セリの根っこを植えるのはこれで二回目です。最初のはほんの少し伸びただけです。

February 22, 2017

Okonomiyaki/お好み焼き

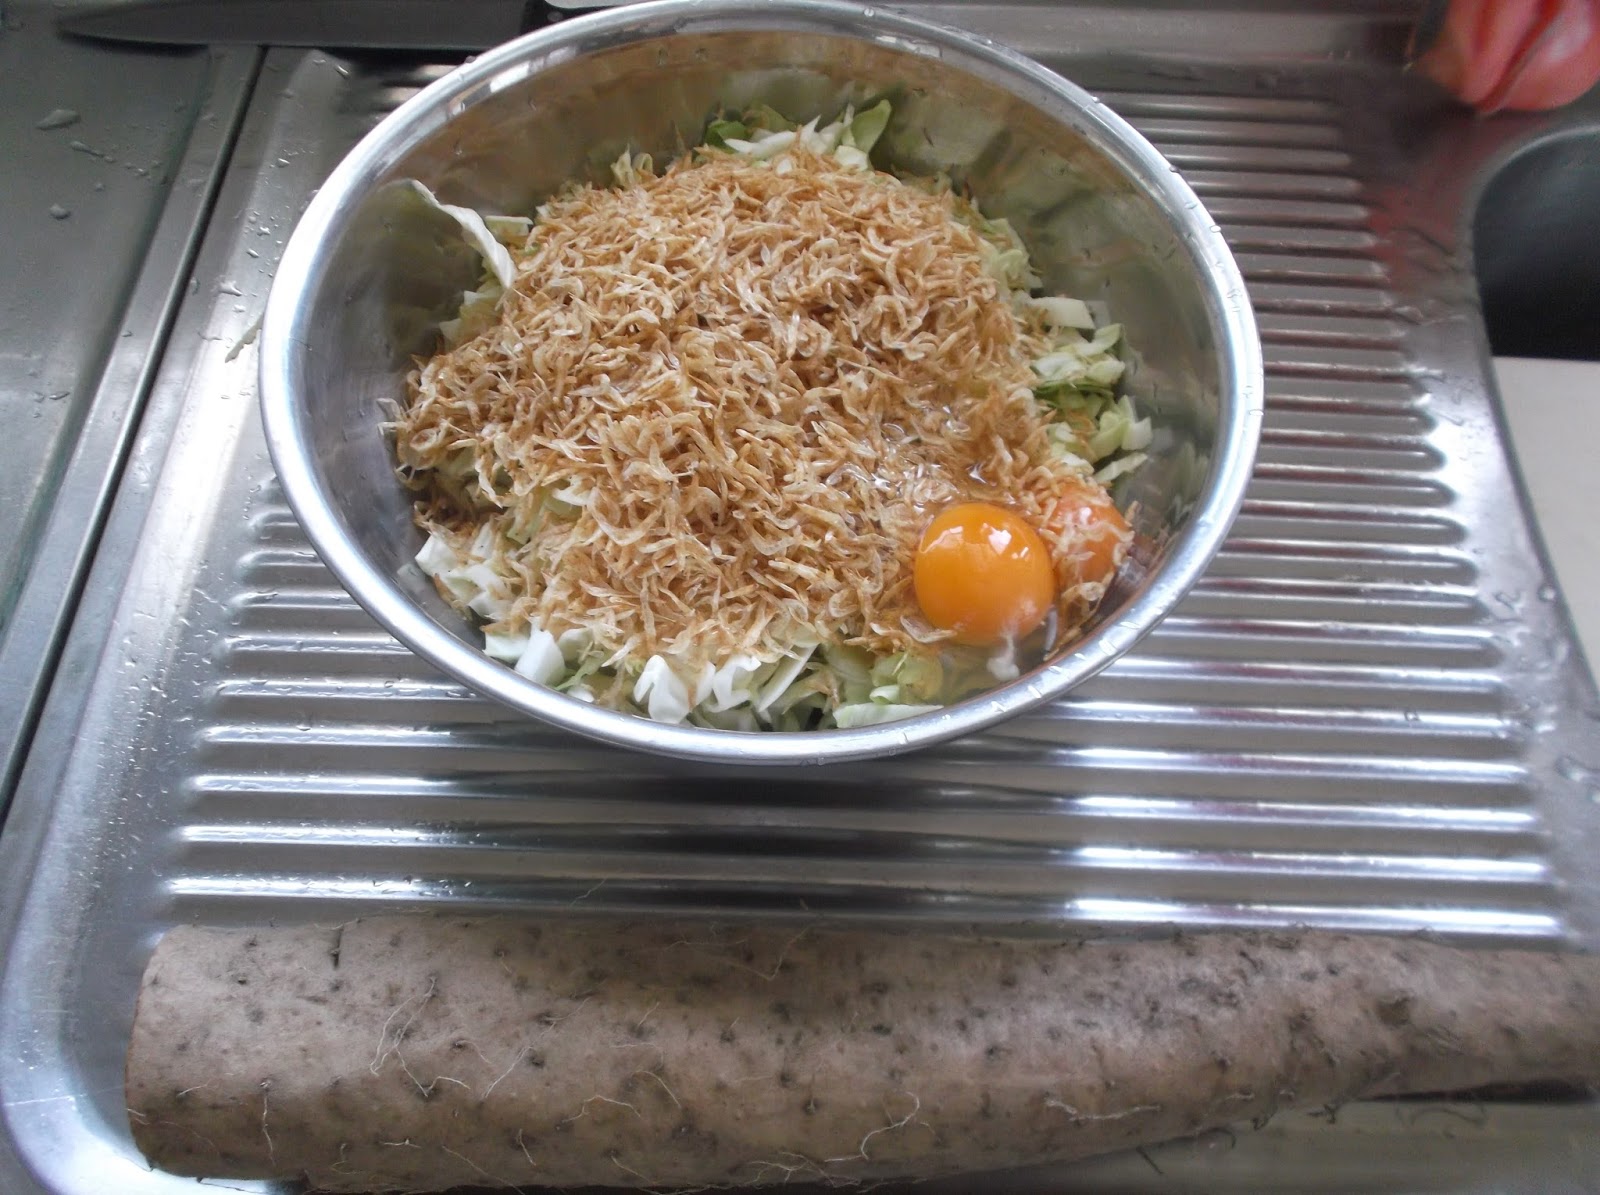
I had planned to make some okonomiyaki for supper to use some of the yam and one of the three packs of small shrimp that were already past their expiration date. Yesterday, I finally got around to doing it.
山芋の一部と、すでに賞味期限が切れている3袋の小エビのうち1袋を使うためお好み焼きを夕飯に作ろうと計画を立てていました。昨日、やっと作ることができました。
 
In a mixing ball, combine:
1/4 head of medium cabbage
2 eggs
1 pack of small shrimp
EDITED TO ADD: I also added 1 tsp instant dashi, and forgot all about it, until chibimoni (see the comment section below) mentioned about dashi.
ボールに、
中くらいの大きさのキャベツ1/4個
卵2個
小エビ1袋
を入れます。
追記: 出汁の素も小さじ1杯入れましたが、そのことを忘れていました。chibimoniさん(コメント欄参照)が出汁のことを言ってくれたので、思い出しました。
Peel yam.
山芋の皮をむきます。

Grate it.
おろします。
I need to use up the other two packs pretty soon!
残りの二袋(ふたふくろ)もすぐに使い切らないと!

Mix all ingredients, add and mix cake flour first and then water to achieve an appropriate texture. I prefer a light, fluffy texture, which is achieved by more cabbage, more grated yam, and less flour.
材料をすべて混ぜ、 薄力粉をまず入れて混ぜ、次に水を入れて混ぜて、適当な硬さにします。私としては、キャベツ多め、山芋多め、薄力粉少なめにして、軽くてフワフワな食感が好きです。
Put some oil in a frying pan, and add some dough to it. Cover the pan and heat over low heat for around 4 minutes.
フライパンに油を入れ、生地の一部を入れます。ふたをして、4分程度弱火で焼きます。
4 minutes or so later.
およそ4分後。
Flip it.
ひっくり返します。
As usual, I used a large plate to flip it: Slide the okonomiyaki onto the plate, and return it to the pan upside down. Heat for another 2-3 minutes, with the lid on, until done.
いつも通り、ひっくり返すのに大きなお皿を使いました:お好み焼きをお皿に滑らせて載せ、上下逆さにフライパンに戻します。ふたをして、火が通るまでさらに2、3分加熱します。

Toppings:
Chuunou souce (instead of okonomiyaki source), mayonnaise, beni shoga (red vinegared ginger), katsuobushi (dried bonito shavings), and ao nori (a type of seaweed).
トッピング:
中濃ソース(お好み焼きソースの代わり)、マヨネーズ、紅生姜、鰹節、青のり

Sorry, no photo of the finished product!
すみませんが、完成品の写真は

January 31, 2017

Saltless Udon Noodles/塩なしのうどん

As I previously mentioned, my father prefers soft udon noodles to firm ones. My father's home-made udon noodles contain no salt.
前にも述べたように、父は硬いうどんより柔らかいうどんのほうが好きです。父の自家製のうどんには塩が入っていません。

For supper yesterday, my father made oshibori udon. For info about oshibori udon, search through my blog.
昨日の夕飯には、父がおしぼりうどんを作りました。おしぼりうどんについては、このブログを検索して下さい。

For supper today, I made hoto, using the leftover home-made udon.
今日の夕飯には、残りの自家製うどんで「ほうとう」を作りました。

Hoto is a local dish of Yamanashi prefecture. It is made with wide and flat saltless noodles, and the broth contains kabocha.
ほうとうは、山梨県の郷土料理です。平べったい、塩なしの麺で作り、汁には、かぼちゃが入っています。

Salmon Nigiri Zushi/サーモンの握り寿司

For lunch today, I made some nigiri zushi (< sushi) with trout salmon as toppings.
今日の昼ごはんには、トラウトサーモンをネタにして握り寿司を作りました。
 
I started thawing the trout salmon fillet at around 9 o'clock in the morning.
午前9時ごろにトラウトサーモンを解凍し始めました。
 
At 11 o'clock, I microwaved the leftover rice until very, very hot. Then, I added a mixture of vinegar, sugar, and salt.
11時に残りのご飯を電子レンジでとても熱くなるまで加熱しました。そして、お酢、砂糖、塩を混ぜ合わせたものを混ぜました。
Within 20 minutes, I made these 7 x 3 = 21 nigiri zushi for my parents and myself.
20分以内で、両親と自分用に握り寿司を7 x 3 = 21個作りました。
Unlike with authentic nigiri zushi, I simply scooped some rice with a large spoon and made it into a ball in a hand. After making 21 balls of rice, I put some wasabi on top of each ball, and placed a salmon slice on top.
本当の握り寿司とは異なり、単に大きなスプーンでご飯をすくって、手で玉にしました。玉を21個作ってからワサビをその玉の上に載せて、サーモンの切り身も載せました。
 
My parents liked the salmon nigiri very much.
両親とも、このサーモン握りをとても気に入ってくれました。

January 23, 2017

Making Miso/味噌作り

Today, I helped my father make miso. He started the preparations (soaking the soybeans in water) two days ago.
今日は父の味噌作りを手伝いました。父は、二日前から準備(大豆を水に漬ける)を始めました。
7 sho (9.1 kg) soy beans.
1 sho soybeans weigh 1.3 kg.
1 sho is equivalent to 1,800 ml.
大豆7升(9.1 kg)。
大豆一升の重さは1.3 kg。
一升は1,800 mlです。

The other ingredients are:
7 sho rice koji
5 kg salt
他の材料は:
米麹7升
塩5 kg

Directions:
1. Boil soybeans until soft. Let them cool to 40 degrees C or lower.
2. Mill soybeans.
3. Add salt, add koji, and mix well. Add some water from the pot to adjust the texture.
4. Put in a container.
作り方:
1. 大豆を柔らかくなるまで煮る。摂氏40度以下に冷ます。
2. 大豆を挽く。
3. 塩を加え、麹を加え、よく混ぜる。鍋の水を足して、固さを調整する。
4. 容器に入れる。

Today, we started the work a little after 7 o'clock in the morning.
今日は、午前7時ちょっと過ぎに作業を始めました。


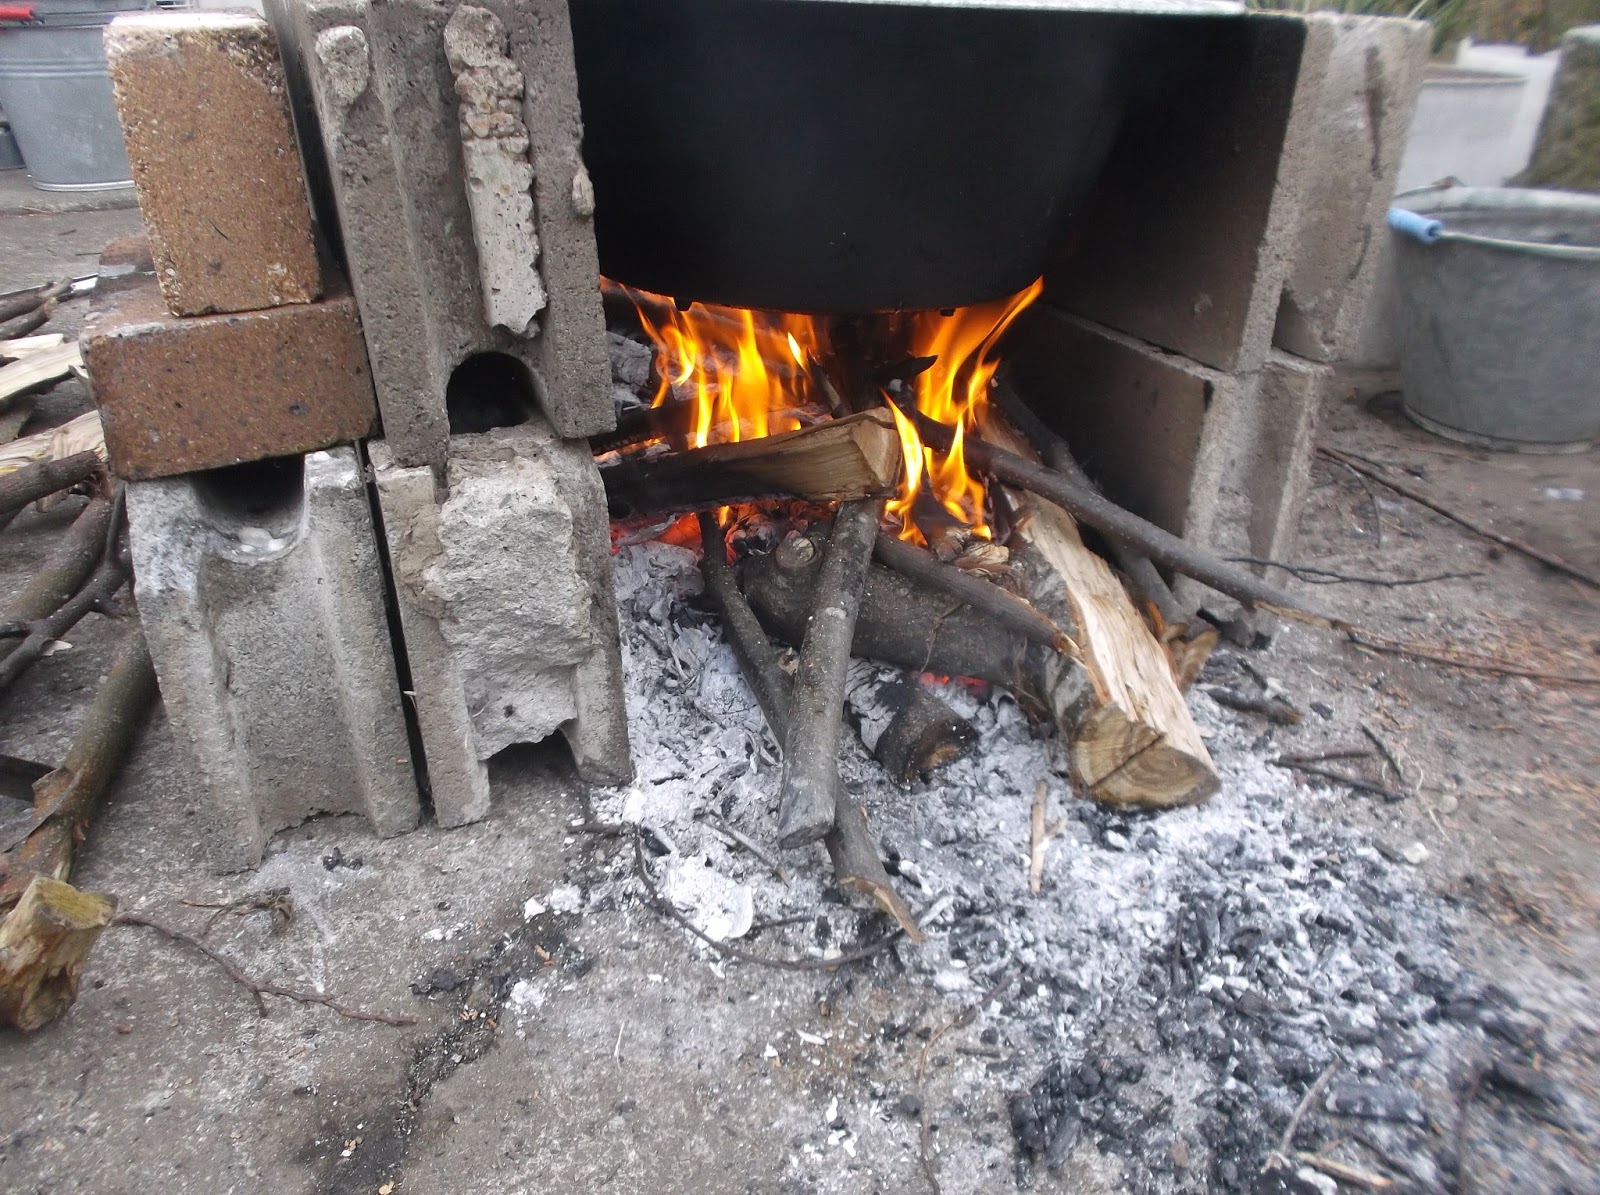
We needed to attend to the two pots for more than two hours!
2つの鍋に2時間以上を付きっ切りでした。
I checked the weight of the 7 sho koji my father had ordered.
父が注文していた7升の麹の重さを調べました。
10.5 kg (including the bag)
10.5 kg(袋を含む)
Probably around 10 kg.
たぶん10 kg程度です。
This is my father's "bean mill".
これが父の「まめひき」です。
Manual device. He said he should have bought an electric one.
手動の装置です。父は電動のを買うべきだったと言ってました。

Large plastic container:
大きなプラスチック容器:


To put the mixture in the container, you first make a ball and then hit it against the inner wall of the container so as to release the air.
混ぜ合わせた物を容器に入れるには、まず玉を作って、容器の内壁にぶつけて空気を抜くようにします。

Place a plastic sheet first on top of it and then a weight. No photo.
プラスチックのシートを上に敷いて、重りを載せます。写真はありません。

My father says that the miso will be made around November.
味噌は10月頃にできるだろうと言っています。

When boiled, soybeans increases by a factor of 2.5 in weight. 9.1 kg soybeans will be 9.1 x 2.5 = 23 kg. The 7 sho koji weighs 10 kg as I mentioned above.
Thus, the salt content of the miso is:
5/(23 + 10 + 5) x 100 = 5/38 x 100 = 13%
大豆は煮ると、重さが2.5倍になります。9.1 kgの大豆は9.1 x 2.5 = 23 kgです。7升の麹は、前述のとおり、10 kg。
よって、塩分量は、
5/(23 + 10 + 5) x 100 = 5/38 x 100 = 13%

Edited to add:
For miso, the salt content of 13% is quite normal. At a lower salt content, the miso is prone to get moldy.
My father says that the 7 sho (9.1 kg) soybeans cost around 5,000 yen, the 7 sho (10 kg) rice koji cost 7,000 yen, and the 5 kg cheap salt cost several hundreds of yen.
Thus, the price of the resultant 38 kg miso is around (5,000 + 7,000)/38 = 316 yen per kg.
NOTE: The weight of 1 sho rice koji varies depending on how dry it is, and is in the range of around 900 g to 1.2 kg.
追記:
味噌では、13%という塩分量はとても一般的です。これより低いと、味噌はかびやすくなります。
父が言うには、7升(9.1 kg)の大豆はおよそ5,000円、7升(10 kg)の米麹は7,000円、そして、安い塩5 kgは数百円だそうです。
よって、できた38 kgの味噌の値段は、1キロ当たり、およそ(5,000 + 7,000)/38 = 316円です。
注: 一升の米麹の重さは乾燥具合によって異なり、およそ900 g~1.2 kgの範囲です。

January 10, 2017

Obukko/おぶっこ

At my parents' house, it is my job to make three meals a day. Sometimes, my father is kind enough to reduce my work by getting premade meals such as nigiri zushi (< sushi).
実家では、一日三食を作るのは私の仕事です。時々、父は出来合いの料理(握り寿司など)を買ってきてくれて、仕事を楽にしてくれます。
Yesterday, my father suggested that he make another local dish of Shinshu (Nagano), obukko. Obukko is a kind of nikomi udon (udon stew). I search for any information about this local dish, and I found it is usually made with flat, wide noodles.
昨日は、信州(長野)の郷土料理「おぶっこ」を作ろうかと言ってくれました。おぶっことは、煮込みうどんの一種です。この郷土料理についての情報を探しましたが、通常、幅広いうどんで作るそうです。
Well, I was surprised at the amount of obukko he was making, which was enough to serve three of us four times, i.e., 12 servings!
父が作っているおぶっこの量に驚きました。3人が4回食べれる量、つまり12人分です!
We will have to consume the rest tomorrow...
明日、残りを食べきらないと...。